This node sits just under a stretch of broken highway near the lost sector to the south.
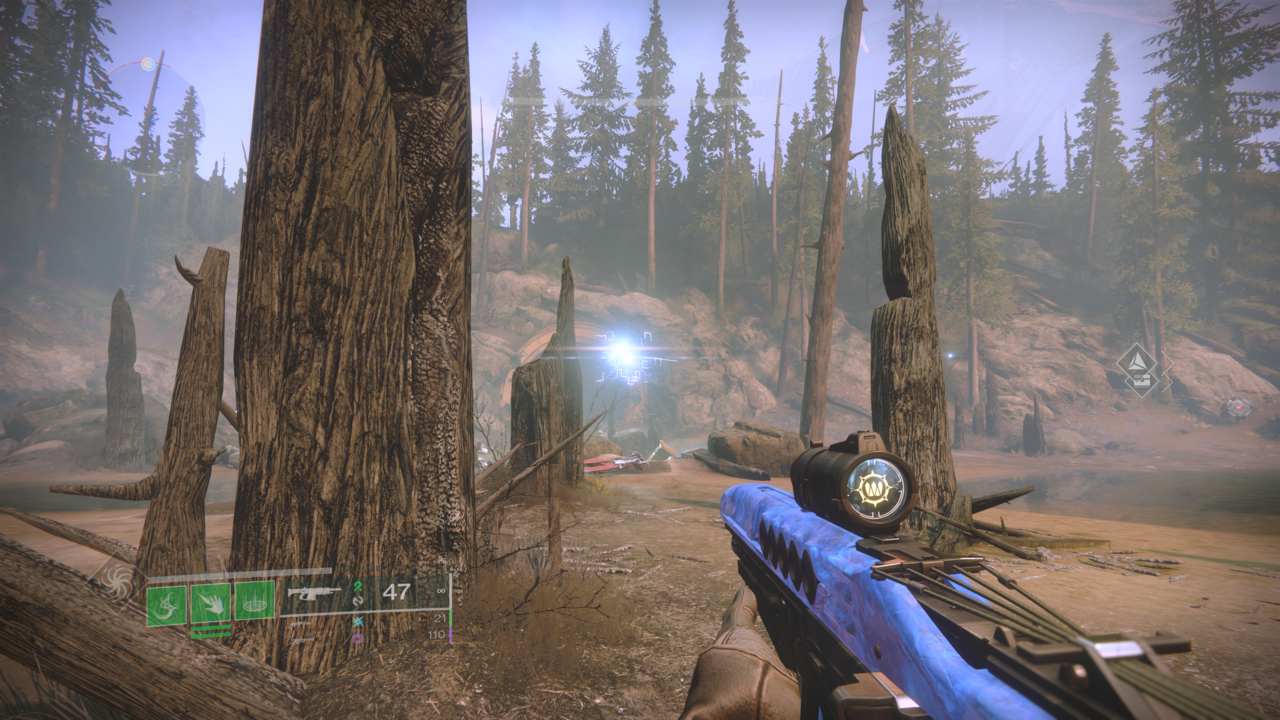
Along the southeast border of The Gulch, a clearing of dilapidated trees hides this node.
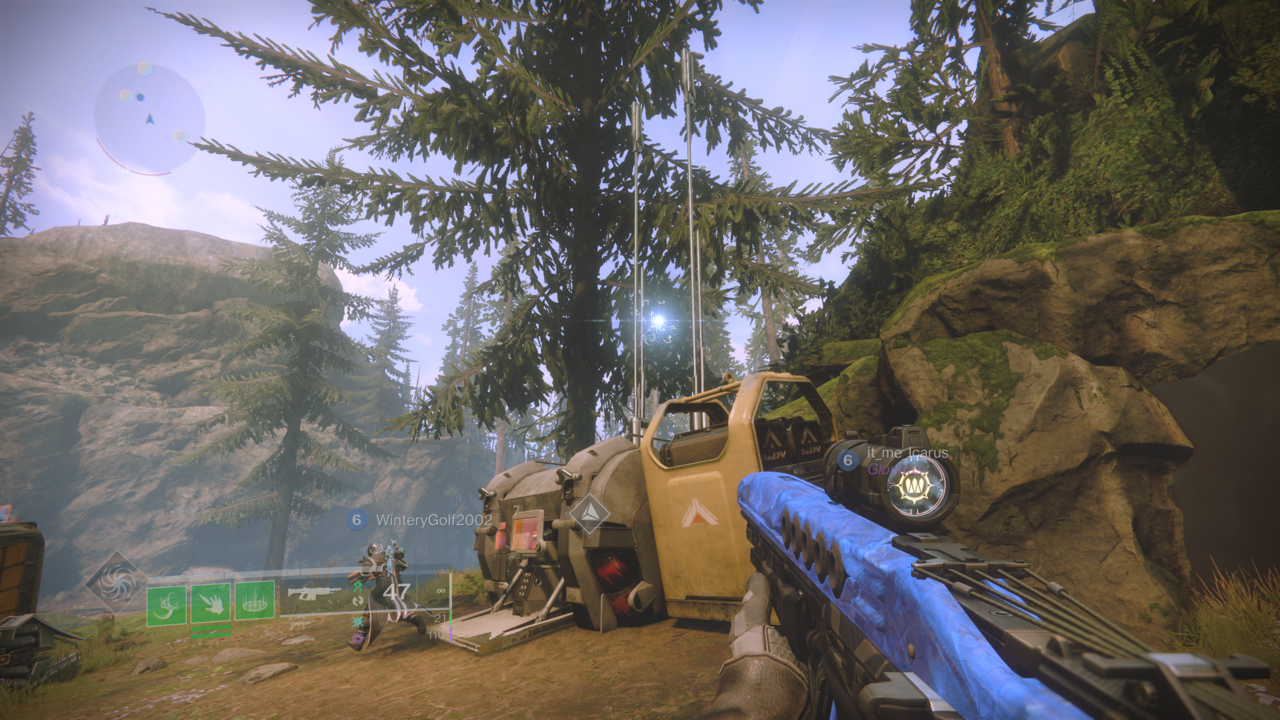
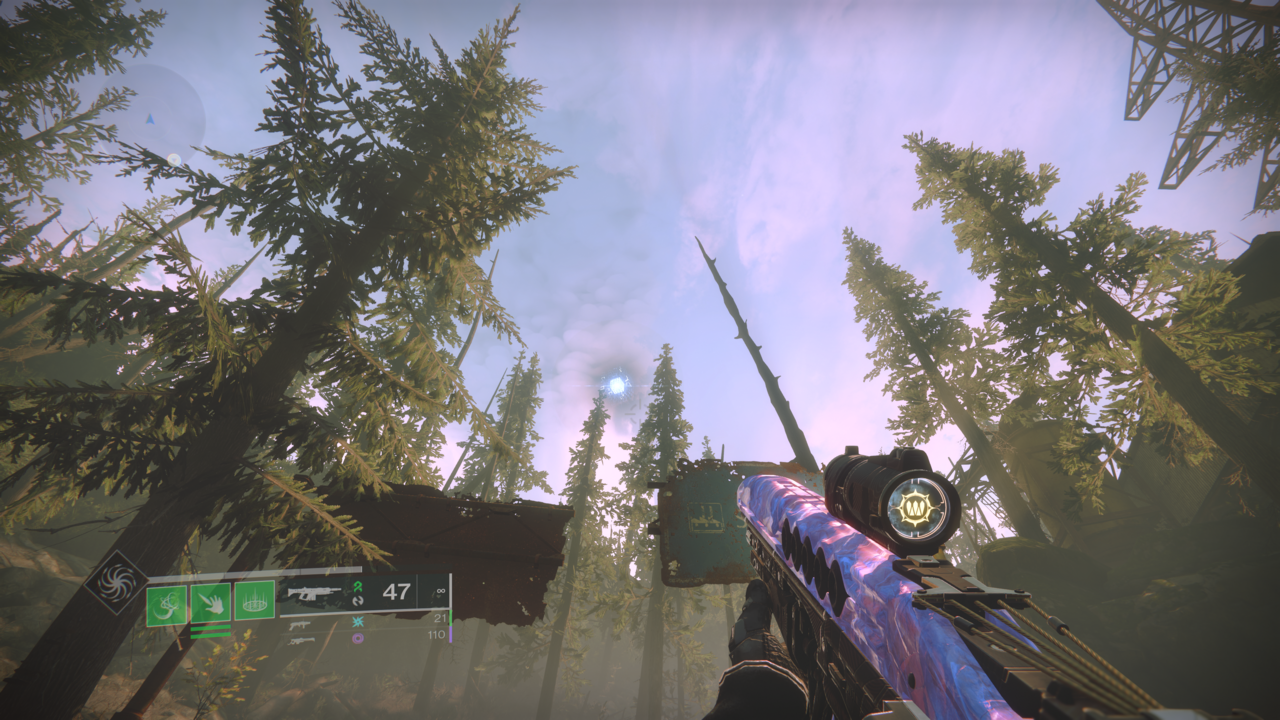
On the cliff to the north of the broken highway, you can spot this node over some abandoned Cabal equipment.
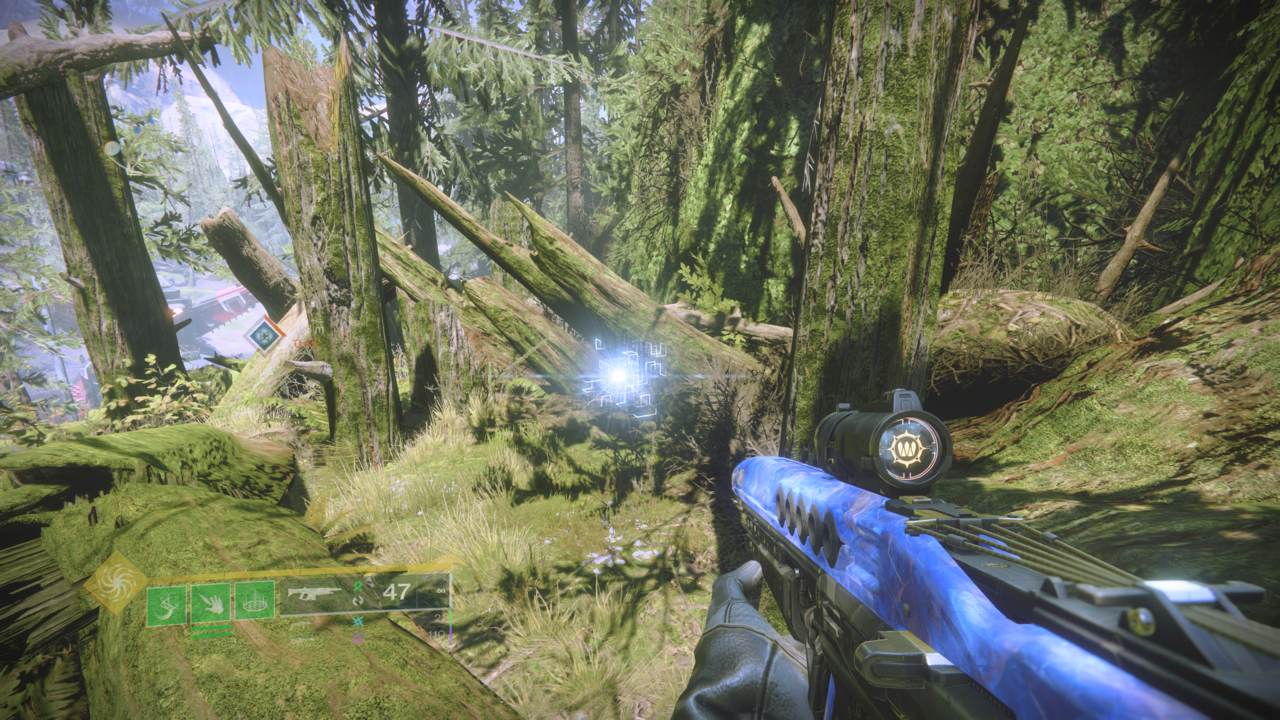
You can spot this node, as well as the one off to the right, smack in the middle of The Gulch near the Cabal patrol and the downed land tank.
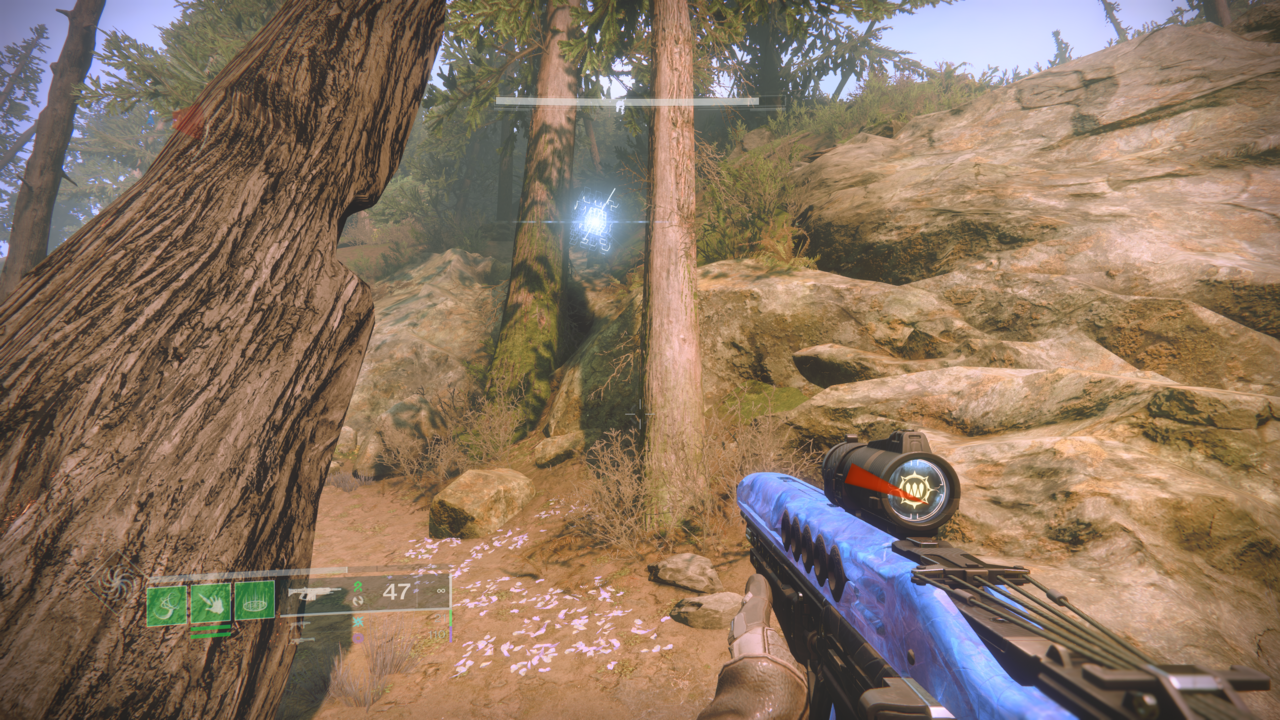
Here’s a clearer picture of the node on the right, hanging out between some trees to the northwest.
And finally one node high in the sky between highway signs near The Gulch’s northeast exit.
Go to the simulated cave and collect the Exotic mission
After collecting all six nodes, you’ll have to head to a nearby cave that’s been expanded on for the sake of the quest. Climb on top of the busted-up highway that covers the one Vex node and face southeast, where you’ll see a cliffside with a path to follow. Take that to a cave with strange-looking Vex fields and simulated bits of environment–go through them and drop into the hole at the end of that path. At the bottom, you’ll find a Vex Harpy with a mission to give you. Start it when you’re ready to go, but fair warning, this quest might be a bit of a bother without at least one other player to help.
Completing “//NODE.OVRD.AVALON//”
This mission will take players into the Vex network, which they may be familiar with from the Vex Incursion Zones throughout Neptune, as well as the Season of the Splicer. Mithrax will be on comms throughout, laying out what’s going on in the mission. Many parts of it center around platforming so get comfy with that jump. Otherwise, look for green lights in the environment, as well as projections of a certain character from vanilla Destiny 2, to guide you around some of the more maze-like constructions in the Vex network. Proceed through the mission until you are eventually dropped into a huge vat of radiolarian fluid (otherwise known as “Vex milk”) to get to the mission’s first rally banner and Darkness zone. Here you’ll be introduced to the major mechanic of the mission.
Once you get to the platform with all the Vex, you’ll notice a spire in the middle of the arena that’s in constant flux and has Vex-styled shapes appear around it. You’re looking for a holographic pattern in the environment that shows the shapes and the order you’ll want to shoot them in from the top down.
You’ll have to input these patterns three times to collapse the spire and open up the gate forward, where you should expect heavy resistance from Minotaurs and Cyclops. Fight your way past them and you’ll encounter another one of these spires. You’re looking to do the same thing here as you did in the last room. Rinse and repeat until you eventually come to the end of this Darkness zone and proceed into the next section of the mission, a platforming puzzle.
The biggest obstacle of this segment is a crawl along a tilted passageway with blocks that shoot out from the wall. Naturally, these knock you over and out into the abyss. As long as you play it slow and stay pressed against the blocks until they pull back, revealing the path forward, you should be able to get through them with relative ease. Once you’re done with that, it’s on to the next rally banner and the first real boss fight of the mission.
Take a lift into the arena and you’ll be surrounded by Vex to take out. Start fighting and the game will pretty immediately instruct you to gather data and take shelter as a countdown pops up. Headless Vex called Dataholder (Corrupt) will appear in droves and your goal here is to kill them and get their data which will appear like purple triangles akin to Gambit motes. Also similar to Gambit, you’re going to want to pick up a certain number of these according to what the game tells you and deposit them into the Vex conflux (a white data column) in the middle of the arena. The goal is to do this before the countdown so that the ground around the conflux disappears and you can safely sit in the hole to avoid being deleted from the Vex network, which is an instant death. Wait out the timer, which will wipe the enemies above, fall into the teleporter under the hole and do it again. On the third cycle, a Hydra called the Data Nullifier will show up and you’re going to want to damage it till the tick on its HP bar at about 60%, at which point it’ll disappear and you’ll have to collect more data and take shelter again. On the third cycle, you’ll once again be able to hurt it and by this point, you should be able to cleanly kill it and proceed with the mission.
From here you’re looking for a platform in the arena with no portals and a circular pedestal, because below it and leading outside, is a path to the next section of the mission and another platforming portion. Jump down across the chasm where you spotted the Wyvern, proceed to the Asher projection and platform along the narrow walkways on your left. The theme of this part is mostly going down; You’re going to want to keep an eye out for paths leading lower and lower. As long as you’re spotting the disappearing Asher projections, you’re on the right path. What looks like a ramp with a little outcrop to stand on will lead you to a huge cylinder with an opening below you, which you’ll naturally be long-jumping to in order to kick off the final fight. Jump into the portal at the end of the path to spawn into the last arena where you’ll face Variant Stalker Brakion, Repurposed Mind in a multi-phase fight.
Brakion fight
The first phase of the fight is pretty cut and dry: Do damage to Brakion while clearing adds. Brakion will teleport between the three ends of the vaguely triangular arena, so keep your eye on it so it doesn’t get the upper hand on you. At about 60% of its health, Brakion will retreat, opening up a portal to follow it through, but first clear any adds for ammo in case you need it.
In the next phase, Brakion will be in a cage that it can shoot from and another spire with patterns to shoot will appear in the middle of the room. The patterns, which used to be found on the walls, are now going to be under transparent bits of ground on the left and right side of the arena now. Start on the left pattern and input the code to knock down the cage, opening Brakion up to damage. Between phases of inputting codes, many enemies, including Cyclops and a Hydra that spawns Harpies, are the biggest immediate problem to deal with. Repeat this pattern on the left and that should be enough to force Brakion to retreat once more for the final phase.
Brakion’s last phase is also simple, but don’t let your guard down just yet. There are less spawns for adds, but Minotaurs still come through in this last room and can kill you pretty quickly. Additionally, Brakion will now follow you around and hurt you with much of its older moves as well as a new stomp. Once again be careful in this room, make smart use of cover, and keep an eye on Brakion as you burn it down. Before long, you’ll get the kill, at which point Vexcalibur will appear and you can pick it up. You’ve completed the mission, but the quest has one more step to go before you can fully enjoy your fun new toy.
Return to HELM
Head back to the HELM and present your findings at the War Table to fully unlock Vexcalibur for use and you’ll have done it!
Reward: Vexcalibur Exotic glaive

The Vexcalibur glaive is an energy weapon, meaning it takes up your secondary slot and uses special ammo. It’s Intrinsic Trait is the M1R Distribution Matrix, a cheeky nod to its creator, and makes it so that blocking damage with the glaive’s shield slowly gives you and your nearby allies Void overshields.
For more on Destiny 2, check out our Lightfall and Season of Defiance hubs, including guides on how to get other new Exotics like the Final Warning sidearm and the other Exotic glaive, Winterbite.